If you’re looking to add a modern, trendy touch to your home without spending a fortune or dealing with complicated installation, chevron peel and stick tiles are the perfect choice. These tiles are easy to use, affordable, and offer a stylish way to update your space. Whether you’re working on a DIY project or just want a quick home upgrade, chevron peel and stick tiles offer a simple solution.
In this guide, we will explore what chevron peel and stick tiles are, why you should choose them, the best places to use them, and how to install and maintain them. By the end of this article, you will have all the information you need to enhance your home with these versatile and beautiful tiles.
What Are Chevron Peel and Stick Tiles?
Chevron peel and stick tiles are adhesive-backed tiles that feature a distinctive “V” or zig-zag pattern. This pattern is known as a chevron design, and it creates a visually striking effect that adds movement and energy to any room. The tiles come with a self-adhesive backing, which means they are easy to install without the need for mortar, grout, or any special tools.
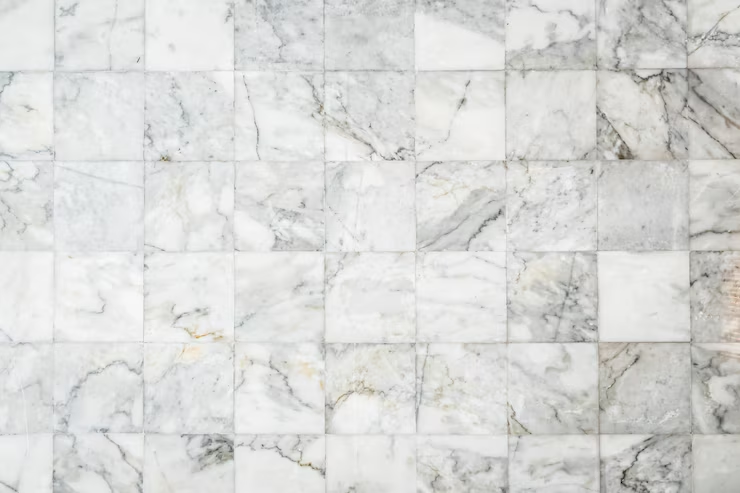
These tiles are typically made from materials like vinyl, ceramic, or metal, giving them a range of textures and finishes. The peel-and-stick feature makes them a convenient choice for anyone looking for a quick, no-fuss installation, and they can be used in various areas around the home, from the kitchen to the bathroom.
Benefits of Chevron Peel and Stick Tiles
1. Easy to Install
One of the biggest advantages of chevron peel and stick tiles is how easy they are to install. Traditional tile installation often requires special tools, grout, and a lot of time. With peel and stick tiles, you simply peel off the backing and stick them to your wall or floor. This quick and simple process saves you time and money, and it makes them ideal for DIY projects.
You don’t need any experience with tiling to get professional-looking results. Whether you’re installing them as a backsplash in the kitchen or as a decorative feature in the living room, chevron peel and stick tiles are user-friendly and can be installed in a few hours.
2. Budget-Friendly
If you’re on a budget but still want to update your home, chevron peel and stick tiles are an affordable option. Traditional tiling can be expensive, especially when you factor in the cost of labor, grout, and specialized tools. Chevron peel and stick tiles, on the other hand, provide a cost-effective way to add style to your home without spending a lot of money.
Since installation is DIY-friendly, you also avoid additional costs for professional installers, making this option even more budget-conscious.
3. Modern and Stylish Design
Chevron patterns are a timeless design that can bring a modern, geometric touch to any room. The bold, zig-zag pattern creates visual interest and energy, making it a great choice for spaces that need a bit of flair. Whether you prefer a subtle, neutral color palette or a bolder, contrasting design, chevron peel and stick tiles can complement any home decor style.
The versatility of chevron patterns allows you to adapt the look to suit your personal taste, whether you are going for a modern, contemporary, or vintage-inspired feel.
4. Durable and Long-Lasting
Chevron peel and stick tiles are made from durable materials like vinyl, which are resistant to moisture, heat, and stains. This makes them a practical choice for high-traffic areas like kitchens, bathrooms, or entryways. In addition to their toughness, these tiles are also easy to maintain. A quick wipe-down with a damp cloth is usually all that’s needed to keep them looking new.
If you want a tile option that will stand up to everyday wear and tear while maintaining its beauty, chevron peel and stick tiles are a great choice.
5. Removable and Adjustable
If you’re renting or just want the flexibility to change your decor in the future, chevron peel and stick tiles offer a removable solution. When you’re ready for a change, you can peel the tiles off without damaging the surface beneath. This feature is especially useful for people who want to personalize their space without committing to permanent changes.
Where to Use Chevron Peel and Stick Tiles
Chevron peel and stick tiles are versatile and can be used in many areas around the house. Here are some of the best places to install them:
1. Kitchen Backsplashes
Chevron tiles can create a striking focal point in your kitchen. Choose glossy finishes for a modern look or natural stone for a rustic feel.
2. Bathroom Walls and Floors
Transform your bathroom into a spa-like retreat with chevron tiles. Their dynamic pattern works well on shower walls or as flooring, creating a sense of continuity and flow.
3. Living Room Floors
For open-concept spaces, chevron flooring adds sophistication and defines areas without the need for rugs or dividers.
4. Feature Walls
Make a bold statement by using chevron tiles on an accent wall in the living room, hallway, or even the bedroom.
5. Outdoor Spaces
Durable materials like porcelain chevron tiles can enhance patios, outdoor kitchens, or poolside areas, offering both style and resilience.
How to Install Chevron Peel and Stick Tiles
Installing chevron peel and stick tiles is a straightforward process. Follow these simple steps for a smooth and successful installation:
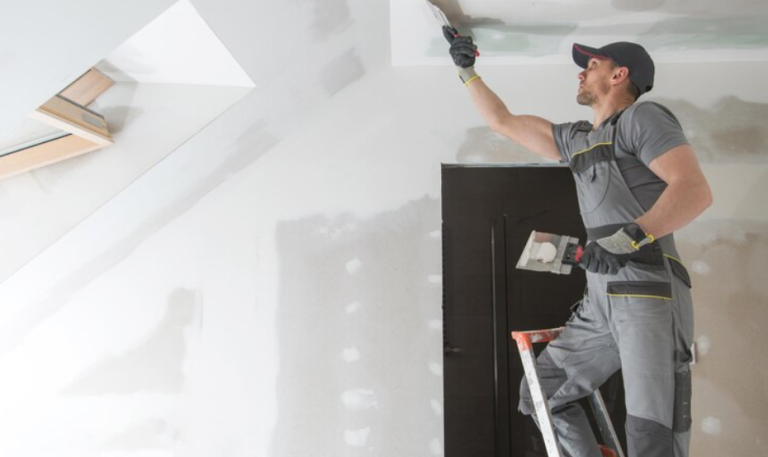
Step 1: Prepare the Surface
Before installing your tiles, make sure the surface is clean, smooth, and dry. Use a mild cleaner to remove dirt, grease, or grime, and let the surface dry completely. If the wall or floor has any imperfections, such as bumps or holes, sand them down to create a flat, even surface.
Step 2: Plan the Layout
Measure the area where you will be installing the tiles. It’s helpful to mark the center of the area and start from there, working outward. This will ensure that the tiles are evenly spaced and aligned. Take the time to plan the layout and ensure the tiles will fit properly.
Step 3: Peel and Stick the Tiles
Peel off the backing paper from the adhesive side of the first tile. Position it in the desired location, and press it firmly into place. Use a smooth cloth or roller to ensure that the tile adheres well and there are no air bubbles. Repeat this process for each tile, making sure they fit together snugly.
Step 4: Trim the Tiles
In areas where the tiles need to be trimmed to fit around corners or edges, use a utility knife or scissors to cut the tiles to the desired size. Be sure to measure and cut carefully to ensure a precise fit.
Step 5: Smooth the Surface
Once all the tiles are in place, go over the surface with a cloth or roller to smooth out any air bubbles
Explore here: https://www.vividtiles.com/