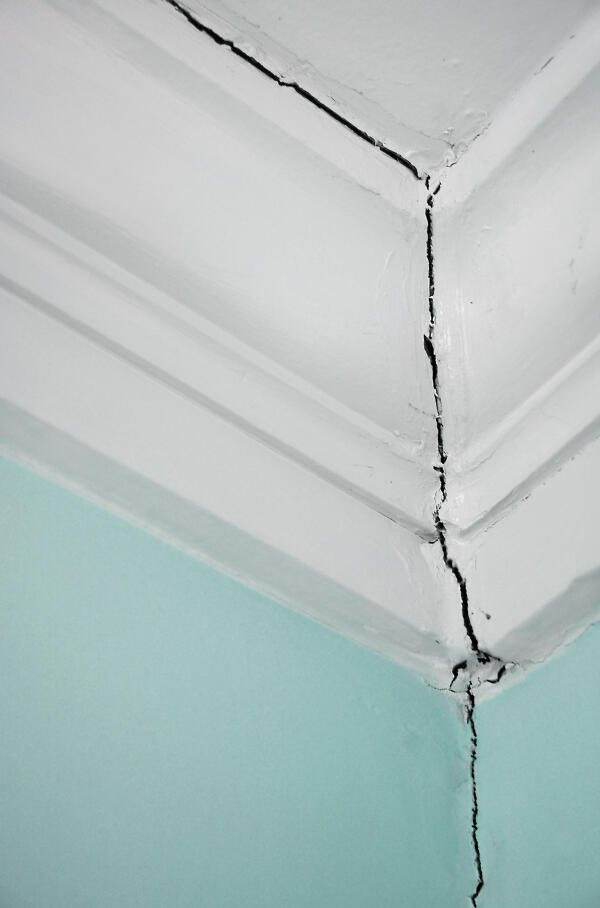
A fresh coat of paint will hide many marks, but it rarely solves a ceiling crack that keeps returning. Cracked ceiling lines can develop from normal joint movement, loose drywall, moisture, framing changes, or damage above the room.
The shape and location of the crack provide useful clues. Inspecting those clues before patching can save you from repeating the same repair a few months later.
Read the Shape of the Crack First
A thin straight crack running along a drywall seam often points toward joint compound or tape failure. Irregular cracking around corners may be associated with movement between different building components.
Before opening the ceiling, look at the surrounding finish under good lighting. General interior repair references can provide useful decorating context, but paint color and texture should wait until the crack itself has been assessed.
Check Whether the Crack Is Changing
Take a dated photograph or make a small pencil mark at the end of the crack. That gives you a simple way to see whether it is extending.
A stable hairline crack may be primarily a finish problem. A widening crack, sagging ceiling, or repeated separation needs more investigation.
Rule Out Moisture Before Making a Patch
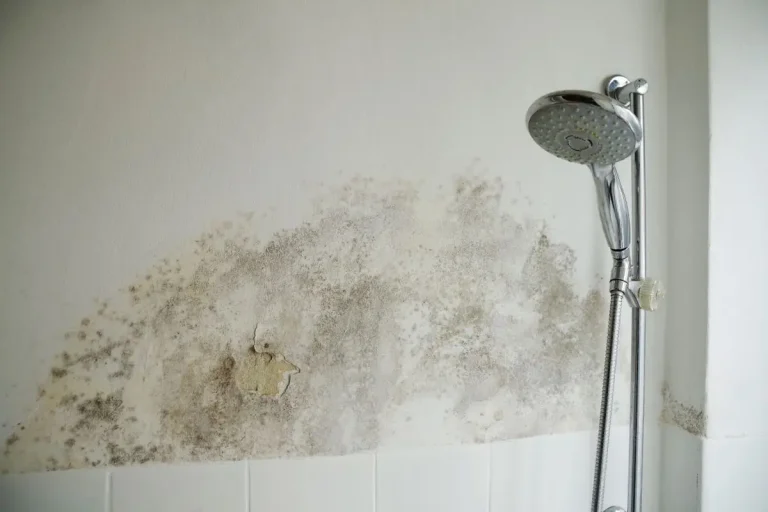
Look for discoloration, bubbling paint, soft drywall, mildew-like staining, or a musty smell. These signs may indicate that moisture has reached the ceiling from plumbing, roofing, or another area above.
Checking outside maintenance conditions can also be worthwhile when the affected ceiling sits below a roof edge or upper exterior wall. Water may travel before becoming visible, so the stain does not always sit directly beneath the entry point.
| Crack Appearance | Possible Cause | What to Check |
|---|---|---|
| Straight seam line | Joint failure | Tape and fasteners |
| Crack with stain | Moisture | Roof or plumbing |
| Crack near corner | Movement | Framing and joints |
| Crack with sagging | Loose material | Ceiling support |
Repair Loose Material Before Refinishing
Once moisture and active movement have been addressed, remove loose compound and failing tape around the damaged area. Avoid digging aggressively into sound drywall.
Secure loose panels when needed, apply appropriate joint tape and compound, and feather the repair beyond the original crack. Homeowners considering nearby patio and exterior projects should also keep indoor ceiling work separate from cosmetic outdoor plans until any shared moisture issue has been ruled out.
Let Each Repair Layer Dry Properly
Heavy applications of joint compound dry slowly and are harder to sand smoothly. Several controlled layers usually produce a cleaner transition.
Prime repaired drywall before repainting. Otherwise, the patched area may absorb paint differently and remain visible even after the crack itself disappears.
What People Often Get Wrong
The biggest mistake is treating every ceiling crack as a paint defect. Paint can bridge tiny imperfections, but it cannot stabilize loose drywall or stop moisture.
Another common error is repeatedly filling the visible line without removing failed material around it. If old tape is detached or the panel is moving, the fresh compound may crack along the same path again.
Frequently Asked Questions
Are hairline ceiling cracks dangerous?
Many hairline cracks are related to finishing materials or ordinary building movement. However, cracking combined with sagging, rapid widening, water damage, or significant wall movement deserves professional assessment rather than cosmetic patching alone.
Why does my ceiling crack keep coming back?
Recurring cracks often mean the underlying joint is moving, tape has failed, drywall is loose, or another cause has not been corrected. Simply covering the line with filler usually does not address those conditions.
Should I paint directly over a repaired ceiling crack?
The repair should normally be smooth, dry, and properly primed before the finish coat is applied. Primer helps reduce differences in porosity between joint compound and the surrounding painted surface.
Make the Repair Last
Treat a ceiling crack as a clue before treating it as a blemish. Check its pattern, watch for movement, rule out moisture, and stabilize loose material before completing the finish work.
A careful repair takes longer than brushing paint across the line, but it greatly reduces the chance of seeing the same crack reappear.